Please ensure Javascript is enabled for purposes of website accessibility

Viewing entries in
Planting

 How to: Installing a meadow garden

How to: Installing a meadow garden

Meadow garden installation is a type of project that can end up looking extraordinary, but there are a few mistakes you need to watch out for.

If your customer has expressed interest in having a meadow garden installed in their landscape, take a look at these simple tips that can help you avoid a meadow mess up.

Site analysis, proper preparation and communication

The most important first step in any project is a site analysis, and it’s crucial to take note of how conditions may vary across the future meadow site.

Test the soil in different areas, scan for slopes and low spots and identify areas where water and moisture might linger or accumulate. Even subtle grade changes can create a significantly different soil moisture condition.

To get a better sense of what you’ll be working with, it’s recommended to spend as much time on the site as possible during different times of the day and in varying weather conditions. This will allow you to fully understand the conditions and dynamics of the site before you begin planting.

One of the biggest mistakes you can make when planning out an area for a meadow is not taking into consideration what, if anything, was planted in the area beforehand and how long it was there.

Depending on what was there and how long will determine your level of pre-planting control. Typically for forage-crop fields or any site where seeds have been growing and dropping for years, it’s recommended to wait one growing season before moving forward.

Once your design plants have begun to grow, it’s much more difficult and time-consuming to control undesirable species, and in some cases, it proves futile because of the vast amount of species present.

Regardless of what kind of project you’re working on, it’s crucial that you keep an open and continual dialogue going with your customer regarding expectations, concerns and what can and can’t be accomplished in the space.

Talk to them about the realistic goals of what’s being planted, when it’s expected to bloom and what will and won’t thrive in the area. Show them photos of different phases of other meadows you’ve worked on to give them a better idea of what it will look like in each stage.

Seeds and long-term planting

You can potentially save yourself a lot of work by using supplier seed mixes, but even the most carefully assembled ones aren’t often site-specific enough. They can also contain species that aren’t appropriate for the area you’re working with or ones that you just simply don’t want.

If you’re able to find a mix that works well for your client’s space, then by all means, use it, but if you’re having issues finding the right blend, design your own based on your budget, desired aesthetics and ecological function.

Even if your clients are on a budget, be sure not to skimp on how many seeds are used in the area. Typically speaking, more species diversity is better than less, and there should be more than enough seeds used to allow good seedling density across the entire project area.

In climates with harsher winters, the best time to seed the area is in late spring or mid- to late fall. Warm-season species of grasses tend to have better germination rates when sowed in spring. Fall seeding can also make use of the winter and early spring freeze/thaw cycles to incorporate seed into the soil.

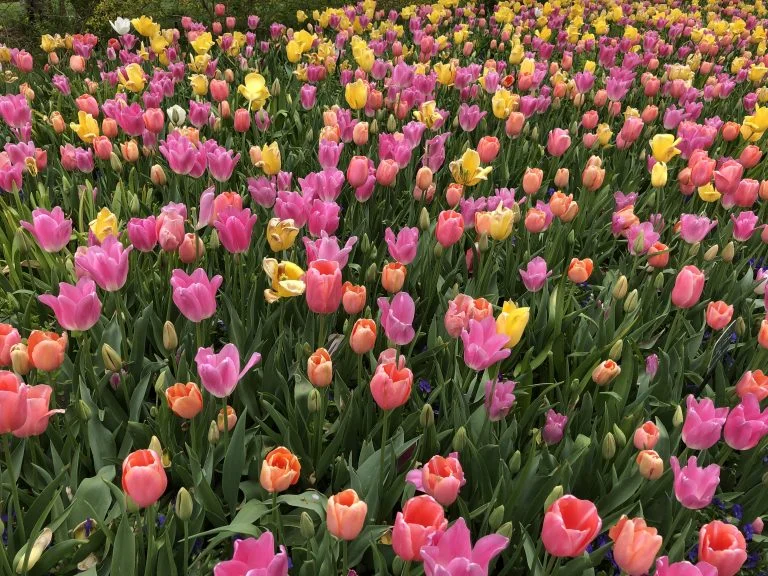
It’s true that customers are more than likely going to want instant gratification when it comes to their plants blooming, but stand your ground when it comes to turning down non-native annuals.

These plants may offer flowers their first few months, but they will ultimately be in competition with longer lasting perennials for space and resources. If you still want to give your customers a little bit of that instant gratification, use a very small number of annuals in a limited area of the space.
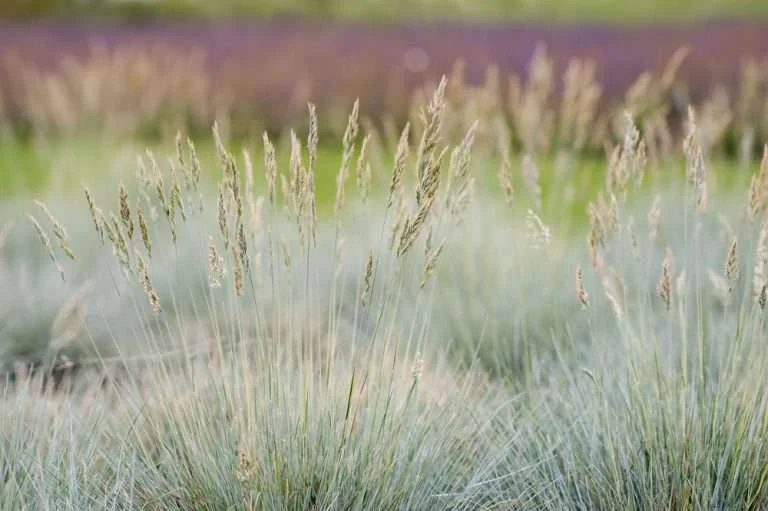
Grasses and niches

Grasses are an absolute staple to meadows, as they are the structural background that allows flowering species to shine. Meadows without grass just come across as unruly flower gardens running rampant, whereas a meadow that has grass as the dominant feature has somewhat of a simplistic beauty.

Having an abundance of grass in the area will also allow birds and other creatures to have an ample food source when winter sets in.

Take time to understand how every species in the meadow will interact with each other and how they will occupy the space above and below the ground. A good goal to keep in mind is to design the species into tightly knit communities that are stable and able to resist disturbances.

Having both root diversity and above-ground diversity can help ensure good density and structural diversity that can help resist the invasion of weeds and stay stable over time.

Using mulch properly isn’t rocket science, but does require care.

Using mulch properly isn’t rocket science, but does require care.

Mulch is a material familiar to virtually all landscapers, and for good reason: Its practical benefits, such as maintaining soil temperatures and conserving water, are complemented by its visual potential – mulch can create an aesthetically unified landscape.

Yet, there is no one ultimate mulch, so there are a number of factors to consider when selecting which type and how much to use.

Depth

Depending on what type of plants are being mulched, the amount needed varies. Roses need about 2 inches of mulch while fruit trees need 3 to 4 inches. No plant should have more than 4 inches of mulch, as this often leads to them suffocating and becoming dehydrated.

A layer of at least 1 inch needs to be applied in order to effectively prevent weeds from growing. The drainage of the site also changes the amount of mulch needed. If the area drains poorly, keep the mulch to 2 inches at most.

The most common mistake with mulching is the ever-despised “mulch volcano” that continues to persist in landscapes despite the many rants and informational pieces written online. To keep it brief, this is when about 1 to 2 feet of mulch is piled up around the base of a tree or a plant.

This creates a habitat for rodents and fungi to take hold, while slowly killing the tree by storing excessive heat and starving the roots of oxygen. Mulch should be kept away from the base of the tree (where the trunk meets the ground) by at least 3 inches.

No matter how many other people are out there making mulch volcanos, it doesn’t make it correct.

Types of material

Mulches can be broken down by whether they are organic or inorganic. Organic mulches tend to decompose in a season or two and are able to improve the soil. Materials such as straw, lawn clippings, leaf mold, and compost all break down in a season or less.

When looking for the gold standard of mulch – that is, which one is going to make the greatest contribution to the soil – it’s going to be compost, but it is important the compost has been made from optimal ingredients.

Straw is relatively cheap and is good for bulb beds, vegetable gardens and strawberry plantings, in part because it is lighter than some mulches. However, this material comes with some real issues. To name two: it’s flammable and contains grain seeds that can germinate.

Bark chunks, cocoa shells, wood chips, and pine needles are longer-lasting organic mulch choices. Bark chunks are readily available and resist both compaction and being blown away by the wind. However, bark can be toxic to young plants if it is too fresh or has been stockpiled improperly.

Cocoa shells are a favorite for their textured appearance and sweet smell. They’re expensive, though, and can be hard to acquire depending on what region of the country you are in. Another downside is that cocoa hulls are toxic to dogs if ingested.

Inorganic materials such as gravel, volcanic rock, and glass stones typically are considered a permanent part of the landscape so they don’t have to be replaced like organic materials. However, they do not improve the soil.

Unlike wood chips that pull nitrogen from the soil, inorganic materials like stones are not taking nutrients away from the plants or harboring diseases. In order to remain attractive, they do require meticulous cleaning.

Opting to use landscaping fabric is about as hotly debated as using rubber mulch, but it can be used to keep stone mulches from migrating down into the soil over time.

Applying mulch

Once you’ve determined the correct amount and type of mulch for a landscape, it is time to actually apply it. The best way to ensure the mulch is able to keep beds weed-free is by starting with a clean bed.

Putting down mulch should be done after ensuring the weeds in the soil have been eliminated to the best of your ability, either by using chemicals or manually pulling them up.

By layering newspaper over the soil before mulching, sunlight is blocked, accomplishing the same effect as landscaping fabric but the newspaper will eventually decompose. This helps the mulch suppress the weeds for much longer.

Spread the material evenly and replenish throughout the growing season as needed.

Hydrangea 101 - A General Overview

Hydrangea 101 - A General Overview

There are so many types of hydrangeas...they come in all sizes, shapes and colors! This video takes a good look at each of the types of hydrangeas and talks about their benefits and differences. Find information on the hydrangea you think is perfect for your landscape right here, https://www.provenwinners.com/plants/search While You Are Here, Don`t Forget To Subscribe!!!

What to do with the spring bulbs after they've bloomed?

What to do with the spring bulbs after they've bloomed?

What to do with spring bulbs after they’ve bloomed? Now that your customer’s spring bulbs have bloomed and are starting to die back, the question becomes should they remain in the ground or be dug up?

Basically, it comes down to the particular type of bulb that’s planted and whether or not they are being treated as annual or perennial plants.